home about me tutorials business tips ruff ruff shop flickr pinterest twitter facebook
Showing posts with label arts and crafts. Show all posts

Friday, April 22, 2011

Tutorial: DIY Easter basket

Greetings from Buenos Aires, Argentina! We arrived here last night and I have already fallen head over heels in love with this city. The architecture is amazing, the city is super ultra clean and the food is delicious. Everyone speaks English and is extremely helpful.

Because today is a holiday (Good Friday), I hear there is an open market a few blocks away from our hotel. I will be going there shortly to look for handmade treasures. Fingers crossed everyone!!!

But before I head out, I wanted to share a cute tutorial with you. This Easter basket is super easy and inexpensive to make. If you have children, be sure to include them. This is a super fun project!


Easter Bunny Basket by Ooh Leela!


Materials needed:
Foam sheets: orange, brown and white
1 plastic cup
scissors
pinking shears
bias tape
glue gun 
ribbon 
permanent markers: black, red and yellow
pink eye shadow and brush
black & white paint

Directions:
1. Using this template, cut an orange flower and 2 white bunnies. 
2. Using the permanent markers and black paint, draw a face on both white bunnies. Use the pink eye shadow to add some color to the bunny's cheeks. Feel free to use my suggestion below or come up with your own bunny face :)


3. Using your hot glue gun, glue the orange flower to the bottom of a plastic cup.


4. Using your cup as a reference, cut a rectangle out of the brown foam sheet that is long & wide enough to cover the entire cup.

5. Add dots using white paint. Let it dry.


6. Using your hot glue gun, glue it to the cup as show below. Don't worry if you can still see some of the cup. We will use the bias tape to cover that in just a moment.


7. Forgive me, but I forgot to take pictures of the remaining steps. I was way too excited and could not wait to finish the basket.... Add bias tape to the top part of the cup.

8. Using pinking shears, cut a brown (or orange) rectangle large enough to be used as a strap. Add white dots if you wish. Glue it to the inside of the cup.

9. Make 2 bows. I used green ribbon because orange and green remind me of a carrot. Bunnies like carrots :)

10. Glue both bunny faces to the cup, one on each side.

11. Insert goodies in the cup. Perhaps even a note!

There you have it! I hope you enjoy it! Happy Easter everyone! May the Easter bunny bring you lots of chocolate bless your heart and your home! Xoxo's!


Thursday, March 17, 2011

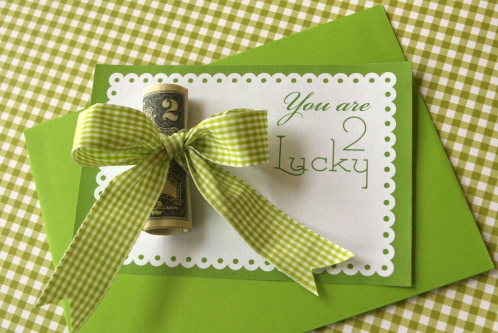
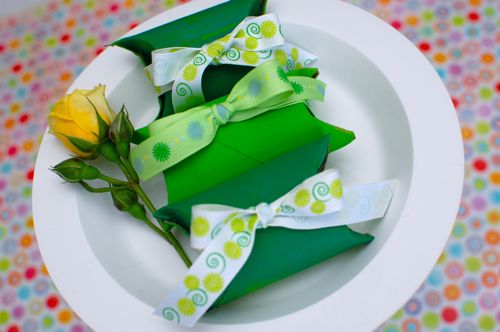
St. Patrick's Day project ideas

Happy St. Patty's Day everyone!!!

Did you know that "Saint Patrick was the patron saint and national apostle of Ireland who is credited with bringing Christianity to Ireland"?

Don't forget to wear some green today! Oh, and if you have some time, be sure to take a look at some of these fun projects!

Here are some really cool projects. Enjoy!


Have a very **LUCKY** day! Thanks for stopping by!

Sunday, January 23, 2011

Luggage tags

Hello everyone! How have you been?

This week was absolutely crazy. So many new clients. It seems everyone's New Year's resolution this year is to file taxes on time.

I am however glad that I got to spend some time sewing and making new jars today.I feel so refreshed!

Remember when I blogged about luggage tags? I made these and gave them to my brother and his wife for Christmas. They will be traveling in a little less than 2 months, so I am sure they will come in handy. These tags look better than using a bandana or a ribbon to identify your luggage, don't you think? And they are super easy to make, even a beginner can finish each tag in about 30 minutes tops.

http://www.joann.com/joann/catalog/projectdetail.jsp?projectFlag=true&CATID=cat13851&fullPath=sewing+%26+embroidery&PRODID=xprd1057038&subCatName=sewing+%26+embroidery

I found the tutorial at Joann's website, but ended up modifying it a bit. I used fabric instead of ribbon. Looking back, I think I should have used a layer of batting between the layers of fabric, to make it a bit sturdier. But oh well, live and learn right?

You can download the step by step instructions, in .PDF format here.

And here is how mine turned out:

I had to block their address...